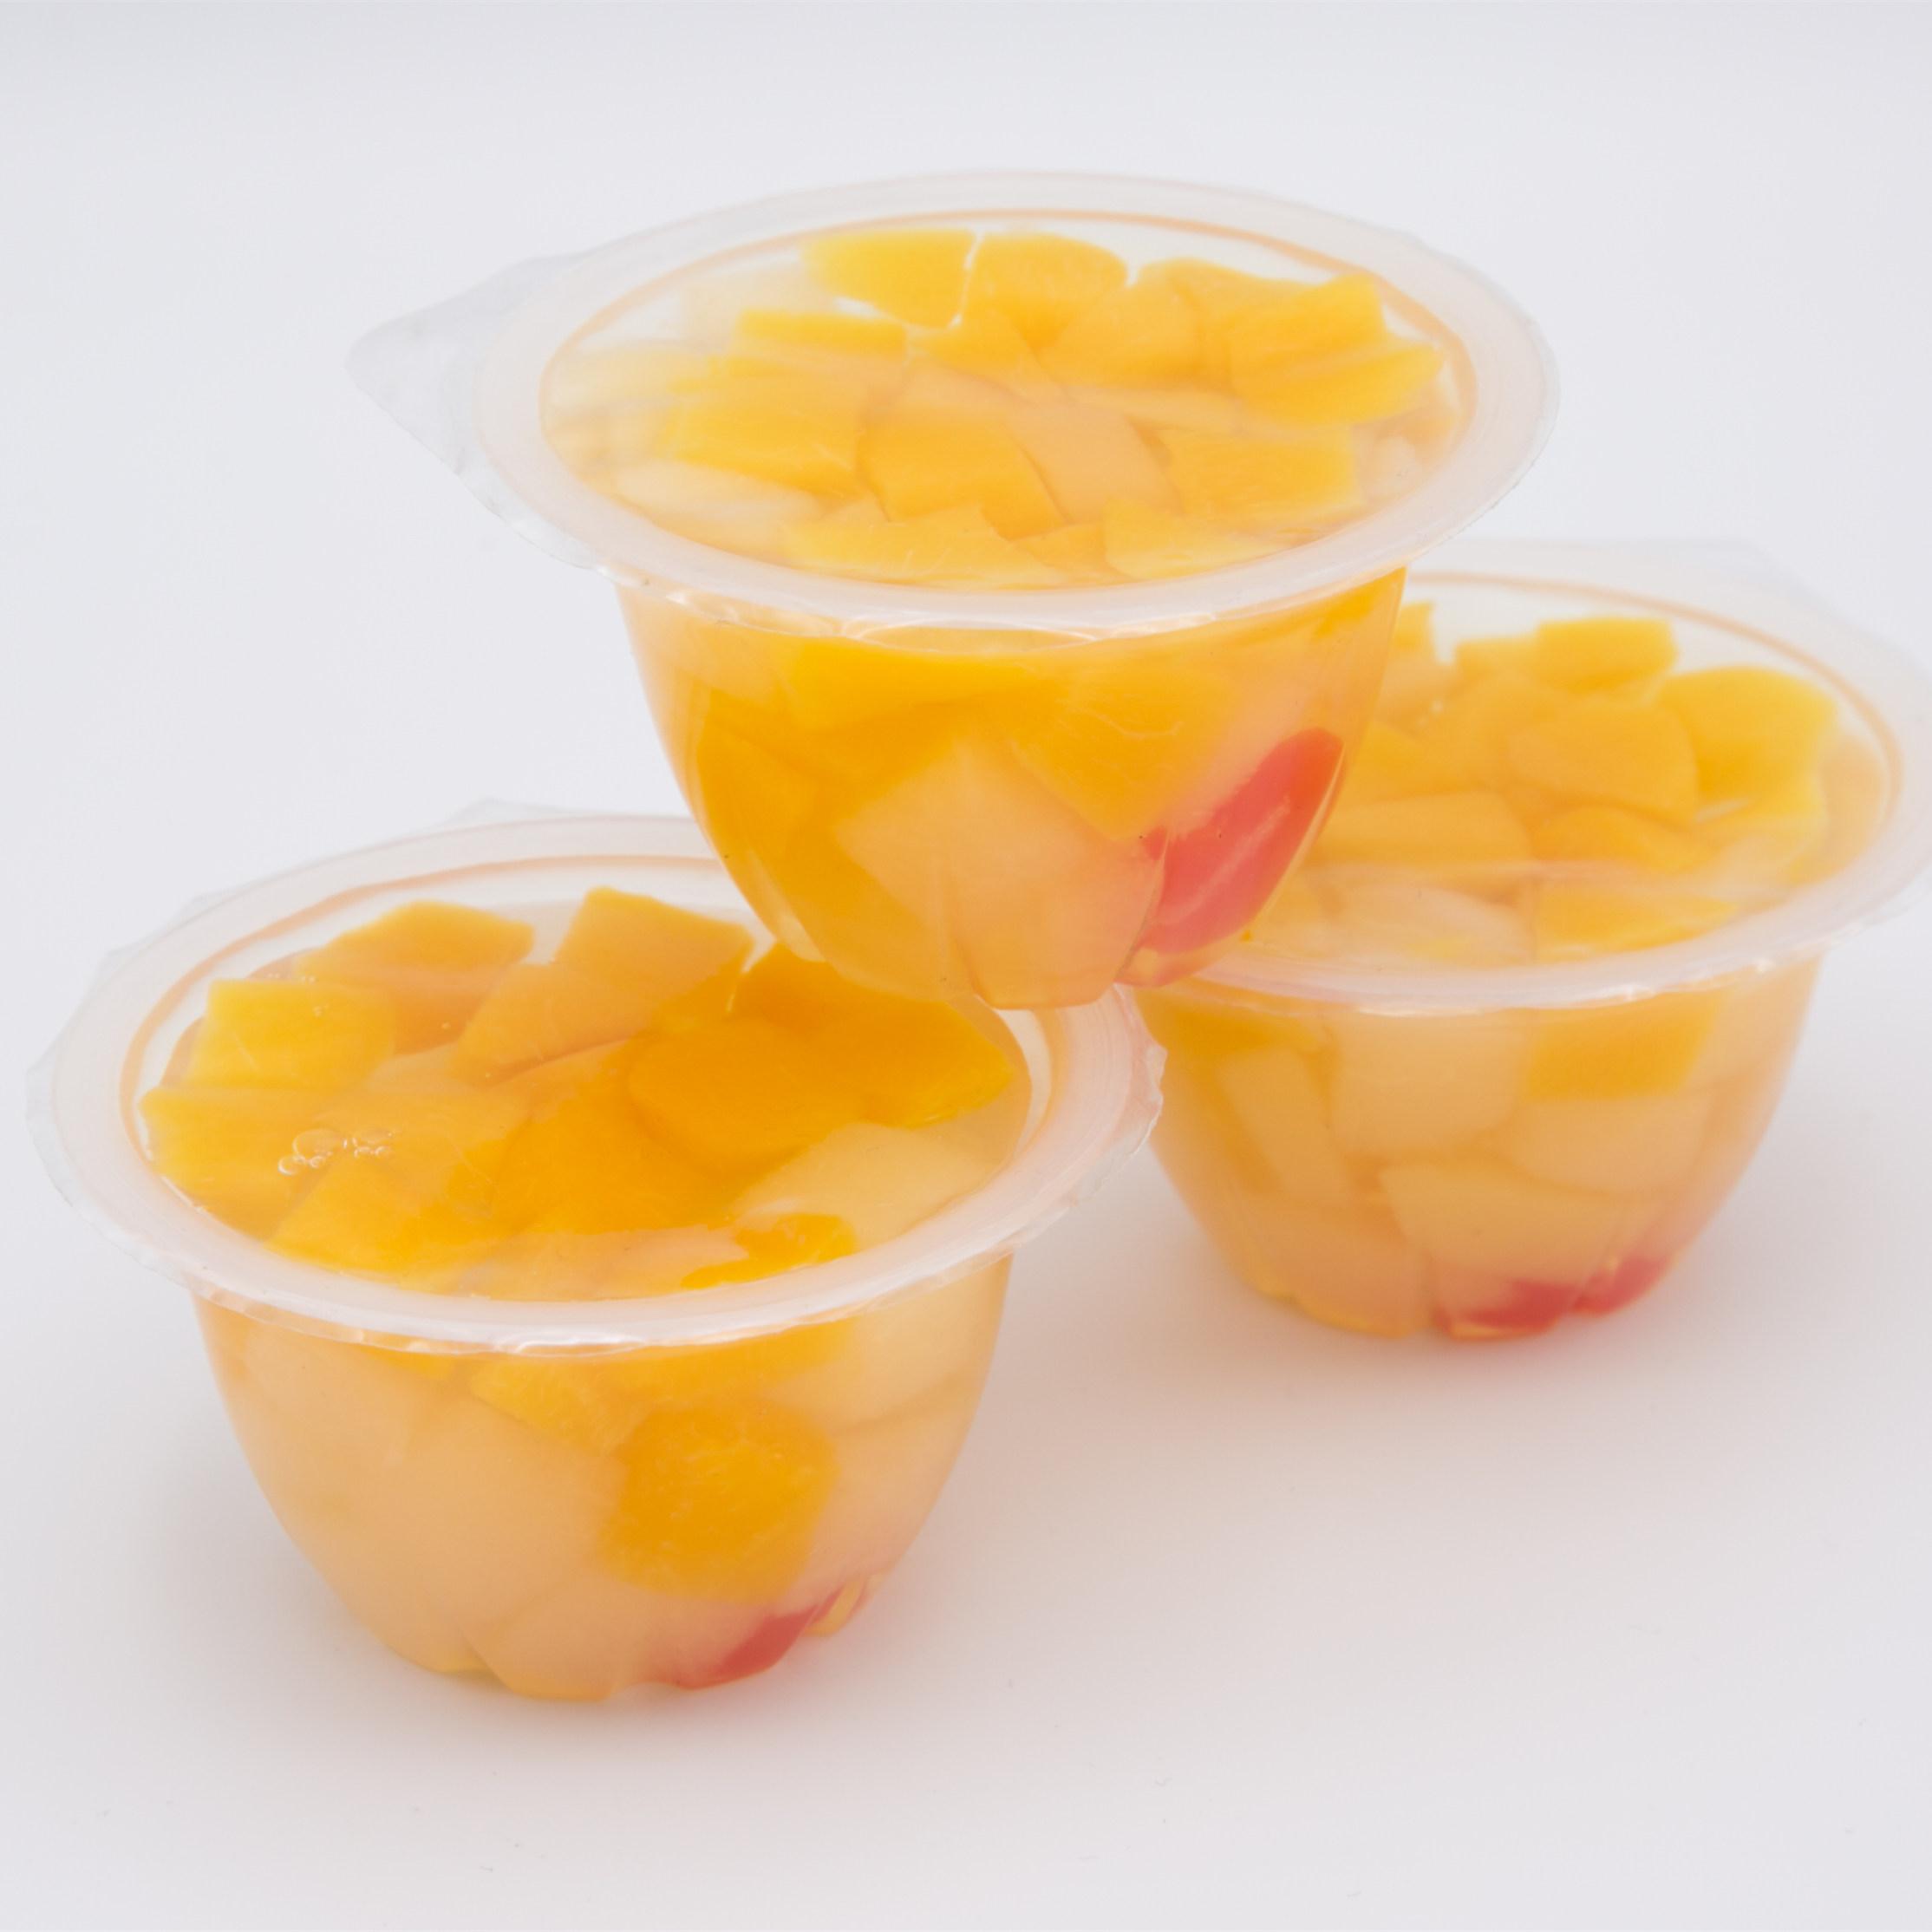
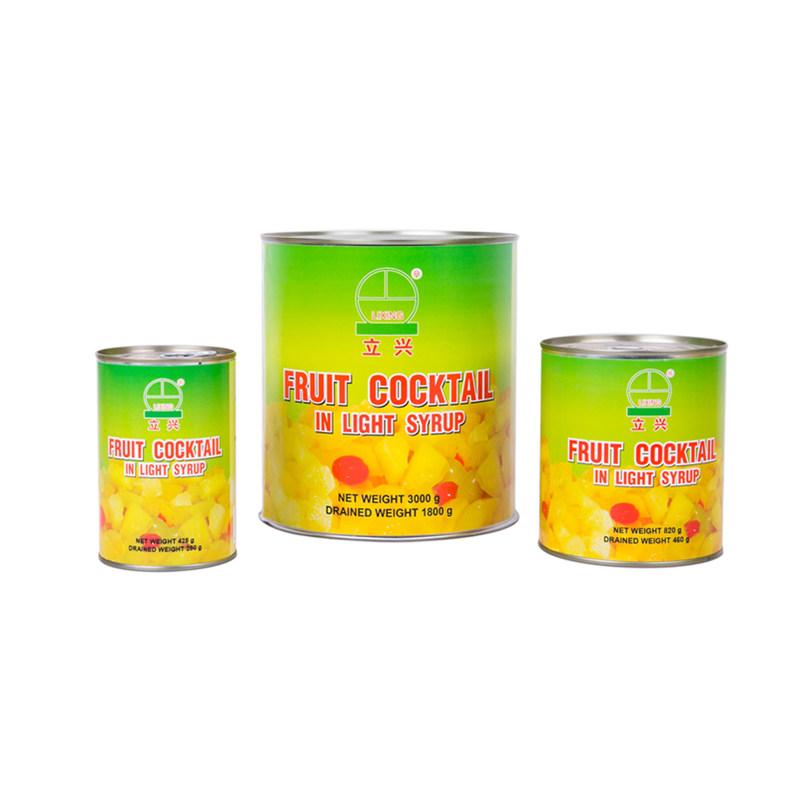
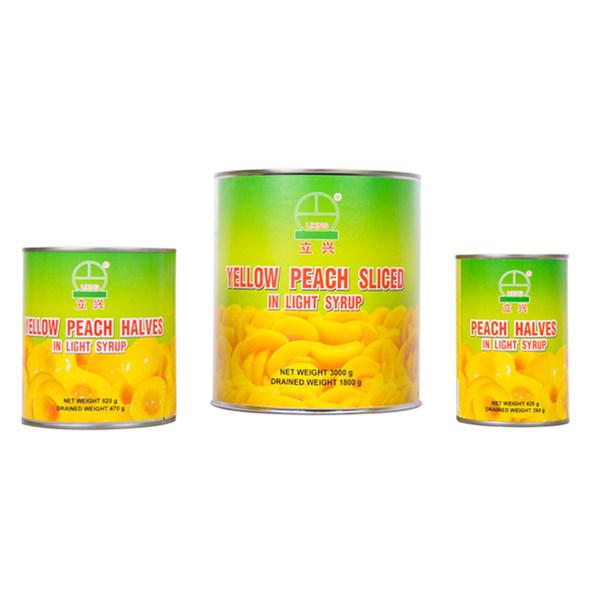
Canned fruit is a very popular commodity. So do you know how the factory fills canned fruit? Let's take a look at this step today.
Canning fruit is a popular method of preserving it for future use. The process involves sealing fruit in airtight containers, typically glass jars, after they have been boiled to kill any bacteria or microorganisms that could cause spoilage. Canned fruit can last for several months, and in some cases, even years, depending on the type of fruit and the canning method used. Here is a step-by-step guide on how to can canned fruit.
The first step in canning fruit is selecting and preparing the fruit. Choose fresh, ripe fruit that is free from any bruises or blemishes. Wash the fruit thoroughly in cold water to remove any dirt or debris. For larger fruits like peaches or pears, you will need to peel them and remove the pits or cores. For smaller fruits like berries or cherries, you can leave them whole.
Before you start canning, you will need to prepare the canning equipment. This includes canning jars, lids, and rings. Wash the jars, lids, and rings in hot, soapy water, and rinse them thoroughly. Place the jars in a large pot of boiling water and let them boil for at least 10 minutes to sterilize them. Keep the lids and rings in a separate pot of hot water to keep them warm.
The next step is to prepare the syrup that will be used to pack the fruit. The syrup will help to preserve the fruit and prevent it from spoiling. You can make a syrup by combining water and sugar in a saucepan and heating it until the sugar dissolves. The type of syrup you use will depend on the type of fruit you are canning. For example, if you are canning peaches, you can use a light or medium syrup, while if you are canning cherries, you can use a heavy syrup.
Once the fruit and syrup are ready, you can start packing the jars. Take one of the sterilized jars out of the boiling water and place it on a clean towel. Fill the jar with the prepared fruit, leaving about half an inch of space at the top. Pour the hot syrup over the fruit, making sure that it covers the fruit completely. Use a non-metallic tool like a plastic spatula to remove any air bubbles from the jar.
After packing the jars, wipe the rims with a clean, damp cloth to remove any syrup or fruit pieces. Place a lid on top of the jar and screw on the ring until it is tight, but not too tight. Repeat this process with the remaining jars.
The final step is to process the jars. Place the filled jars in a large pot of boiling water, making sure that they are completely submerged. Let them boil for the recommended amount of time, which will depend on the type of fruit and the altitude you are at. After processing, remove the jars from the pot and let them cool on a clean towel. As the jars cool, you will hear a popping sound, which means that the jars have been properly sealed.
In conclusion, canning fruit is an excellent way to preserve it for future use. By following these steps, you can safely and successfully can your own canned fruit at home. Remember to use fresh, ripe fruit, prepare the canning equipment properly, and follow the recommended processing time for your fruit and altitude. Enjoy your canned fruit throughout the year, knowing that you have preserved its delicious flavor and nutrients for future consumption.